Showing posts with label guest post. Show all posts

Sunday, 7 December 2014

More inspiration from Laura at Made Peachy


Today we have an inspiring post by the wonderfully creative Laura from Made Peachy, whose beautiful calligraphy is a perfect fit for our INK challenge theme this month. 


If you’ve checked out my Instagram feed, or my blog in recent times you’ll have noticed that I’m in the midst of a love affair with modern Calligraphy.

This elegant art form is something that takes practice - years of practice, if we’re going to be honest about it. Yet, still this is a creative pastime that I can’t get enough of right now. So much so that I’m shouting it from the rooftops, so I’m here today to share the love for Modern Calligraphy and perhaps give you that little nudge that you might need to give it a go!


First off, lets dispel a couple of myths and get a few things clear…


MYTH: You need to be super artistic to be able to master calligraphy.

Well, sure calligraphy is an art form, but it is one that is learnt and developed with practice. Repeated drills of shaping stylish letters will yield stunning and highly artistic lettering, even if you claim to not have an artistic bone in your body.


MYTH: You can’t contemplate taking up calligraphy if your everyday handwriting is horrifically bad.


Calligraphy is very different from your everyday writing. Ok, so if you're starting out with a scrawl of script that is illegible at the best of times then you’ll just have your work cut out, but there is no reason (providing you put in the practice!) that you can’t achieve stunning lettering skills.


MYTH: Practice is so boring!

Ordinarily I would agree. I mean repeating the same task (that you might be pretty shabby at when you start out) does sound dull. But, here’s the thing, calligraphy practice is slow, careful and considered, it is a perfect way to stop and slow down  - and unwind - during a busy day. Don't be surprised if you find that you’ll be sneaking in a little bit of lettering practice every time you have a moment to spare!


As I’ve said, calligraphy is a slow burn of a craft so - full disclosure - I’m still learning, still finding my own style and still trying to master the art of not covering everything in the surrounding area with blobs of ink. However, in the last few months of my whirlwind romance with this creative hobby I have not only been amazed at the progress, but also learnt a few little things along the way.


Thinking of trying your own hand at modern calligraphy? Check out these handy hints for beginners…


New Nibs

While you are learning, mastering the smooth even pressure can result in breaking and bending nibs out of shape. Writing with a damaged nib is no fun and no good for achieving results that you can be really proud of, stocking up with lots of nibs will ensure that you can get the most out of your practice sessions.


Need some help with picking out some calligraphy supplies - check out these Starting Calligraphy Essentials!


Easy on the Ink

Getting just the right amount of ink in your dip pen is a fiddly business. You might be tempted to load it up with as much as you possibly can to ensure you can write out the whole entire word without refilling it. Too much ink can cause uneven strokes on the letters and often results in splodges and splatters on the paper. Load your pen

sparingly, you can always re-ink part way through a word and even work back over letters to refill sections as needed.


Stay Chilled
Relax! This is meant to be a fun creative hobby! Its all too tempting when we are concentrating really hard to tense up through our shoulders and back. This is the very worst thing for practising calligraphers - tense muscles, in your hand, arm and shoulder make it really tricky to create those lush swooping loops and flourishes that you’re striving for.


Fancy looking for some tips online inspiration for calligraphy? Check out this round up of free Calligraphy resources! 


Clean Up!
This might sound like the dullest piece of advice, no one likes to clean up! Inks will dry pretty quickly on abandoned pens, and removing it once it has completely dried is a difficult job, and can often leave your nibs damaged or in a sorry state. A quick clean up of nibs and pen holders when you've finished your practice will help to give them longevity…and they will be ready for with the mood hits for more lettering!


Learning solo can be a little daunting - it is often hard to spot your own mistakes or fathom out the tricks of the trade to get you to the next level. Why not try an online calligraphy course? 


I plan on spending a lot of time over the winter working on my lettering practice and no doubt have a lot more to learn - but what a satisfying creative journey it will be. Have you discovered top tips for working with inks or building your calligraphy skills - be sure to share, I’d love to hear them!


Blog: http://www.madepeachy.com
Twitter: https://twitter.com/MadePeachy
Facebook: https://www.facebook.com/pages/Made-Peachy/201655609989556?ref=hl
Instagram: http://instagram.com/madepeachy
Pinterest: http://www.pinterest.com/MadePeachy/


Thank you so much Laura! 
Be sure to check her out on social media, she has fabulous and unique tutorials on her blog and takes the most gorgeous and inspiring pictures.

There is about a week before the INK challenge link opens so we hope to see you back here then for a chance to win a $25 gift certificate to the Fat Quarter Shop and if you're new to le challenge you can find all the details about our fun monthly link here!


Saturday, 5 July 2014

More inspiration from Kelly at Jelli Quilts

Today we have the super talented Kelly from Jeli Quilts sharing some SMALL inspiration with us and showing some of her gorgeous makes!


I love the theme of this months Le Challenge, and so was so happy to be asked to guest post about it and hopefully give a little inspiration.  There are so many directions you could take with the theme 'small', but for me two in particular stand out. Small makes - I love them!  Perfect for when you need that quick sewing fix, which for me is half way through a quilt or in avoidance of hand sewing the binding.  Bags, pouches, coasters, cushions - they all fit that small make bill and generally take only a couple of hours to whip up.

Here are a few of my favourite small makes made over the last couple of years:


Top left  - Log cabin pouch (Oh Fransson prefect zip bags pattern - http://www.ohfransson.bigcartel.com/product/perfect-zip-bags-pdf-sewing-pattern)
Top right - Netbook cases - (modified version of the Ipad cover tutorial by One Shabby Chickhttp://oneshabbychick.typepad.com/one_shabby_chick/2011/01/an-ipad-cover-tutorial.html)
Bottom left - Michelle patterns Strap clutch (http://www.michellepatterns.com/product/strap-clutch-pdf-sewing-pattern)
Bottom right - Ipad mini case -  pattern by Schoolhouse Patterns (https://www.etsy.com/uk/listing/119876841/eclutch-sewing-pattern-sleeve-case-with?ref=shop_home_feat_3)


The other direction is to literally go 'small' and make tiny blocks.  When I look at certain types of quilt blocks (mainly geese, I admit!), the first thing I want to do is scale them down to ridiculous size and see if I can still make them. There is just something so ridiculously cool about a teeny tiny quilt block, well to me anyway ;-)


They are perfect blocks to turn into pincushions, mug rugs, pouches and tote bags!


Top left - Mouthy Stitches tote - Tiny circle of wonky stars (tutorial by http://zonnah.com/2010/07/20/wonky-star-ring-tutorial/)
Top right - Tiny geese pincushions  -  Goosed Up pattern (http://www.craftsy.com/pattern/quilting/other/goosed-up--paper-pieced-block/89918)
Middle right - Ipad case with mini dresden circle
Bottom right - Super teeny pincushion - Juicy Goosey pattern (http://www.craftsy.com/pattern/quilting/other/juicy-goosey-paper-pieced-block/101226)

Hopefully that has given you some inspiration for this months challenge, I can't wait to see what everyone comes up with.


Thank you so much Kelly! I know that's inspired me to get sewing and finish my small project :)

Create something based on the theme 'small' using any type of craft and come and link up your finished project (with a blog post or Flickr picture) on the 15th July for a random chance to win a $25 gift certificate to the Fat Quarter Shop!


Thursday, 12 June 2014

More inspiration from Katie of Swim, Bike, Quilt

We are so thrilled to have the wonderful Katie share her inspiration and free patterns with us this month...


Hi! My name is Katie Blakesley, and I blog at Swim, Bike, Quilt. My blog has been a little quieter than normal lately due to a difficult pregnancy and an impending cross country move (from Virginia to Oregon); I hope you will still visit.


I’m happy to be talking a little bit about this month’s Le Challenge blog theme, charity.  I know my life is happier when I think about charity in a broad sense—trying to show a little more love, kindness and forgiveness for myself and those around me—which includes choosing to believe the best in others instead of the worst.

Since this is a sewing related post, I'm going to share a little about my experience with charity quilts, and include a few free pattern ideas that work really well for donation quilts.


If you are interested in making a quilt for someone in need, the easiest thing to do is to join in a charity quilt drive or group that is already established. Not only do you benefit from a cheering section, deadlines, a cause, and sometimes even prizes (not that we sew for prizes but its kind of fun anyway), but you don't have to do any organizing. It's already done for you!

For several years, I have organized a yearly quilt drive called 100 Quilts for Kids. It has been a wonderful thing in my life, and I’m so happy to announce that my fellow DC Modern Quilt Guild member and friend Heather Tompkins of Quilts in the Queue will be continuing as the organizer of 100 Quilts for Kids. Make sure to follow her blog as she announces 2014 dates and fun! I hope you will consider participating.

100 Quilts  = fun + easy!

1. Make a quilt.  Great time to use bee blocks, try a new pattern, practice your free motion quilting, or experiment with a design of your own.

2. Donate it to a child in need, locally if you can.  Consider donating your quilt(s) to a local foster care program, domestic violence center, homeless shelter, children’s hospital, or to a local military family support organization. You can also mail them to the DC Modern Quilt Guild if you would prefer.

There are so many great charities and sewing circles out there!! If you don’t know where to donate your quilt, try one of these organizations or quilt drives: Margaret’s Hope ChestBumble Beans Basics, do.Good StitchesProject Linus, the work done by Sarah and her Quilt Ministry, and Siblings Together.

If you are interested, here is a little information about 100 Quilts for Kids in 2013!  Check out the quilts linked up here, in the Flickr Group, and using the hashtag #100quilts4kids on Instagram.

In the past few years, the DC Modern Quilt Guild has donated quilts to a domestic violence shelter for women and kids in Alexandria, VA; a community group that supports indigent families in DC;  and the DC center that transitions children to foster care.  In some cases, quilts have been hung on walls to brighten up sometimes dreary and non-inviting spaces. In other cases, they have been given to kids who need some comfort and care.  You can’t really go wrong with that, I think. 

Free Patterns for Charity Quilts I thought I would share a few free patterns to get you started thinking about quilts for kids. If you aren’t up for making a quilt by yourself, ask a local guild, group of friends, or quilting bee to each make a block for you, or invite friends over to your house and teach some basic sewing lessons! I have done all of these--there is no wrong way to sew for charity. 


The Wonky Star Quilt 
Last year, Dear Stella donated this great fabric for a Wonky Star Quilt and a number of friends in my guild made 15’’ wonky star blocks using this tutorial. I was able to quilt and bind the quilt, and I think it was a great group effort. If you have bee blocks or sampler blocks that are just sitting around, its a simple way to use them! 


Star Bright Quilt 
I made one of my all time favorite quilts last year, and shared a downloadable free Star Bright Quilt Pattern. Its available on Craftsy or my blog.  


The LOVE Quilt
I’ve always loved this Love quilt made by Jessica for 100 Quilts for Kids a number of years ago.  Kelly Bowser has a tutorial for the free wonky letters at Sew, Mama, Sew.  


Linked Octagons 
Anjeannette Klinder has a great free pattern on the Moda Bake Shop

Giant Starburst Quilt Along 
Megan has a great Giant Starburst Quilt Along on her blog, Canoe Ridge Creations. This would be a fun and simple quilt to make!  


I hope this post helps you think a bit more about charity quilts, and that you join in on a charity project this year!


Huge thanks to Katie for joining us and providing such brilliant links and ideas! We wish you all the best with your pregnancy and move :)


Friday, 4 April 2014

More inspiration from Molli Sparkles


Today's guest post is from Molli Sparkles with a BRIGHT teenage tale!


It's Molli Sparkles here, and I must tell y'all a story from way back. I've interspersed it with my inspiration pictures for this month's Le Challenge theme.

It was 1993 and I stood in my bedroom looking down over the vastness of my single bed. My Grandma-Sparkles-designed Micky Mouse quilt suddenly seemed so childishly obsolete. I was on the edge of thirteen and I needed a grown up quilt of my own design. But what, pray tell, did a soon to be thirteen year old Molli need in order to declare his independence and step into the world of quilt maturity? One word: neon. 


That’s right, I marched right into the living room and declared to Grandma Sparkles, “We must scour the Oklahoma fabric landscape for neon immediately.” To which she replied with a raised brow, “Um, okay.” And that we did. We brought home electrified yardage of pink, green, orange, yellow, and even a blue that would have had Cyndi Lauper’s eye shadow taking. down. my. name. Grandma Sparkles sewed it all up into pounds of oversized patchwork. After the top was quilted with puffy, polyester batting—trust me, it was the look of the times!—it was handed over. It was mine, and it represented a chic, new me.


I instantly became the coolest person in my house. (Our pet Siamese cat had put up a noble fight, but there was no denying he was all shades of brown). Sunglasses were now the must-have accessory upon entering my room. And for the next few years I lived under that quilt—loved under it too—until slowly, over time, with each successive wash it started to fade. By the end of its lifespan, most of that neon fabric had dulled to a lustre, paling in comparison to its intense, former glory. Not once did I care though. Its appearance may have changed, but I knew where it had come from, and what it would always be at its core.


That neon quilt accompanied me into my formable, teenage years; an early metaphor for life and the people in mine. It was also partly responsible for shaping my undeniable aesthetic views in the worlds of art and design, and if we’re being perfectly honest, even my personality. So snaps to my thirteen year old self for teaching me what I know now. Because honey, listen up: If you’re gonna make it right, you gotta make it BRIGHT. Now werk!


I've been reminded of the neon socks and friendship bracelets of my younger days! Thanks for the great inspiration!

We hope you're getting on well with your BRIGHT projects, any neon?


Friday, 4 October 2013

More inspiration from Kristen

We have a guest post from the fabulous Kristen of Bobbypin Bandit today to share her spooky stitchings with us...


Thank you so much to Lucy and Nat for inviting me to be a part of the THRILLER theme here at Le Challenge. I decided to focus on a Halloween inspired version of the Thriller theme with embroidery and sewing projects that reflect my version of the thrill that the season brings.  I have a profound obsession with Halloween, so you can imagine how thrilled (mwuahahaha... pun intended) I was to be a part of this month's theme. 

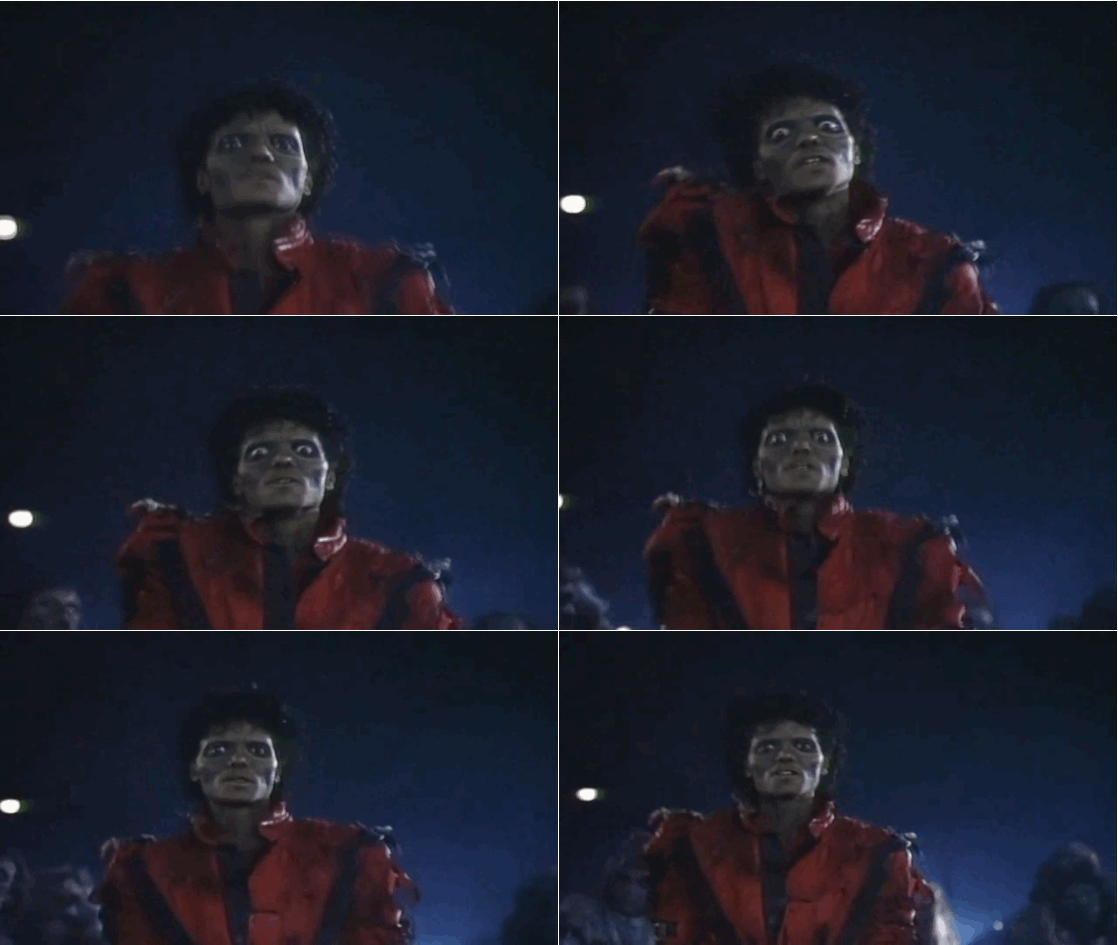
Once I had calmed down from the excitement and stopped doing the shoulder pop from Michael Jackson's "Thriller," I sat down to spend some time with my projects.


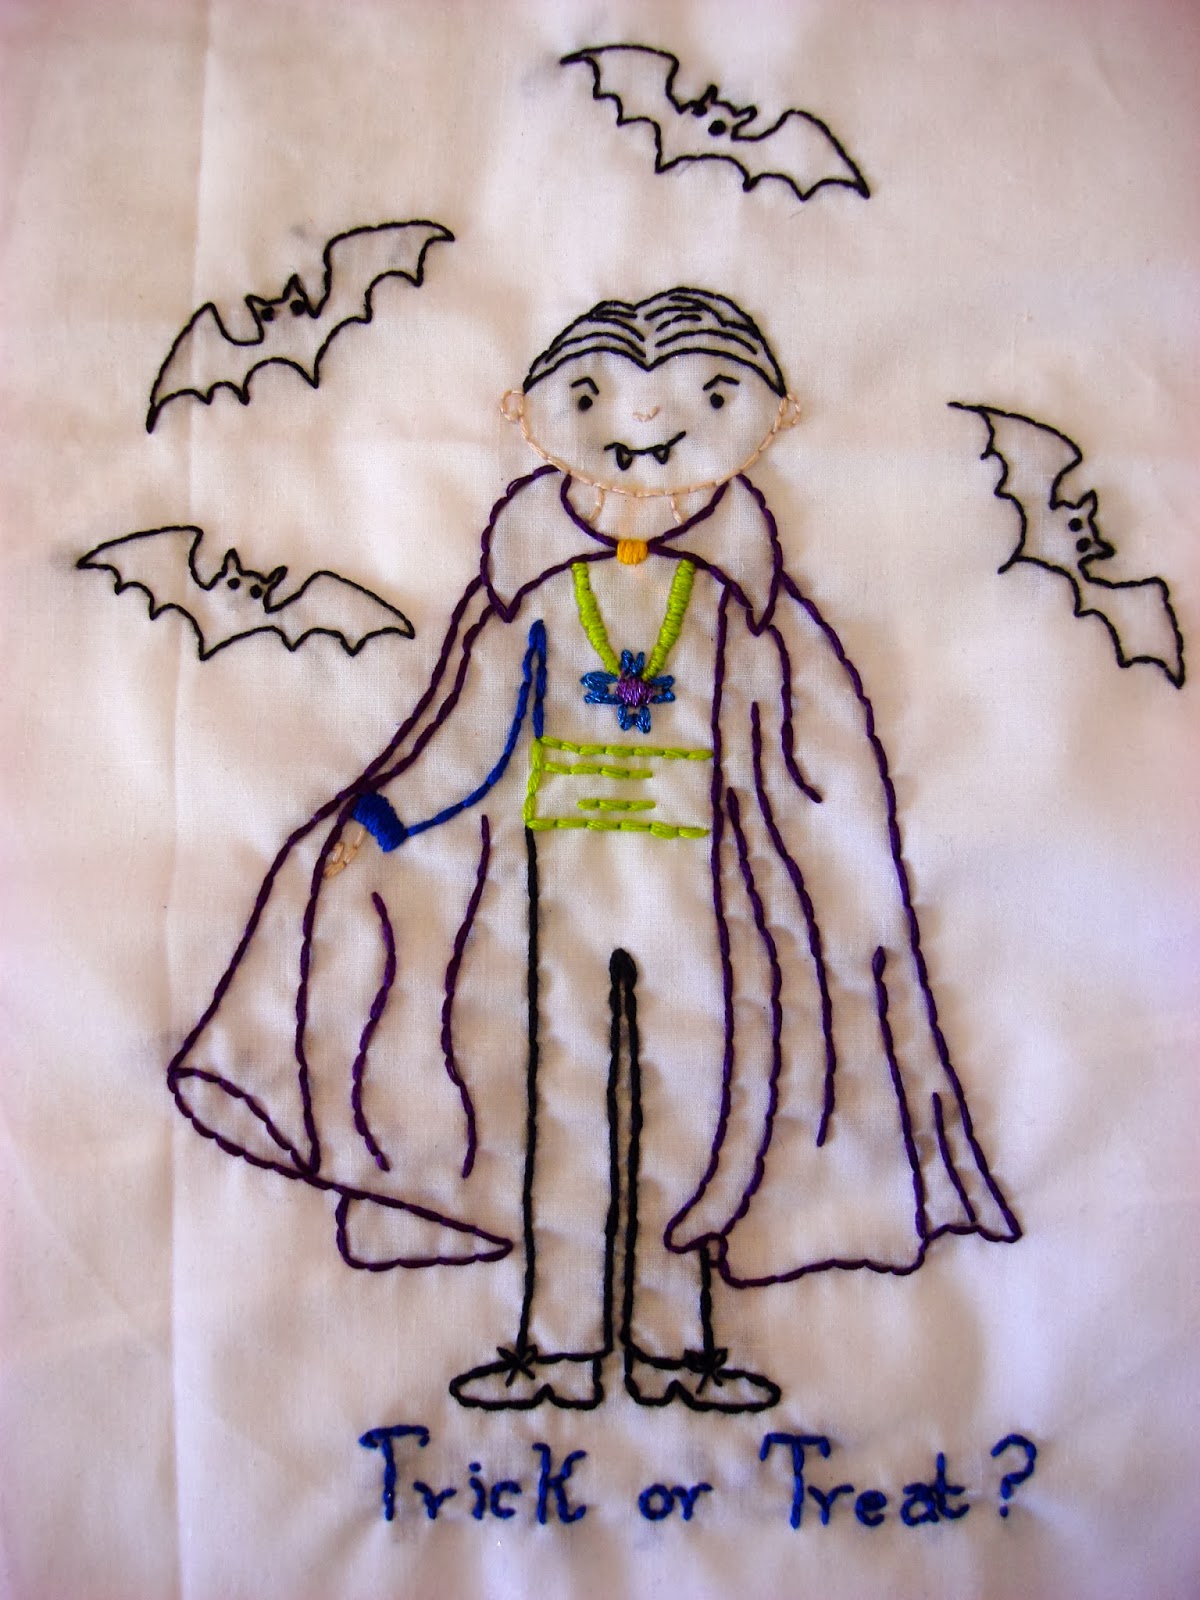
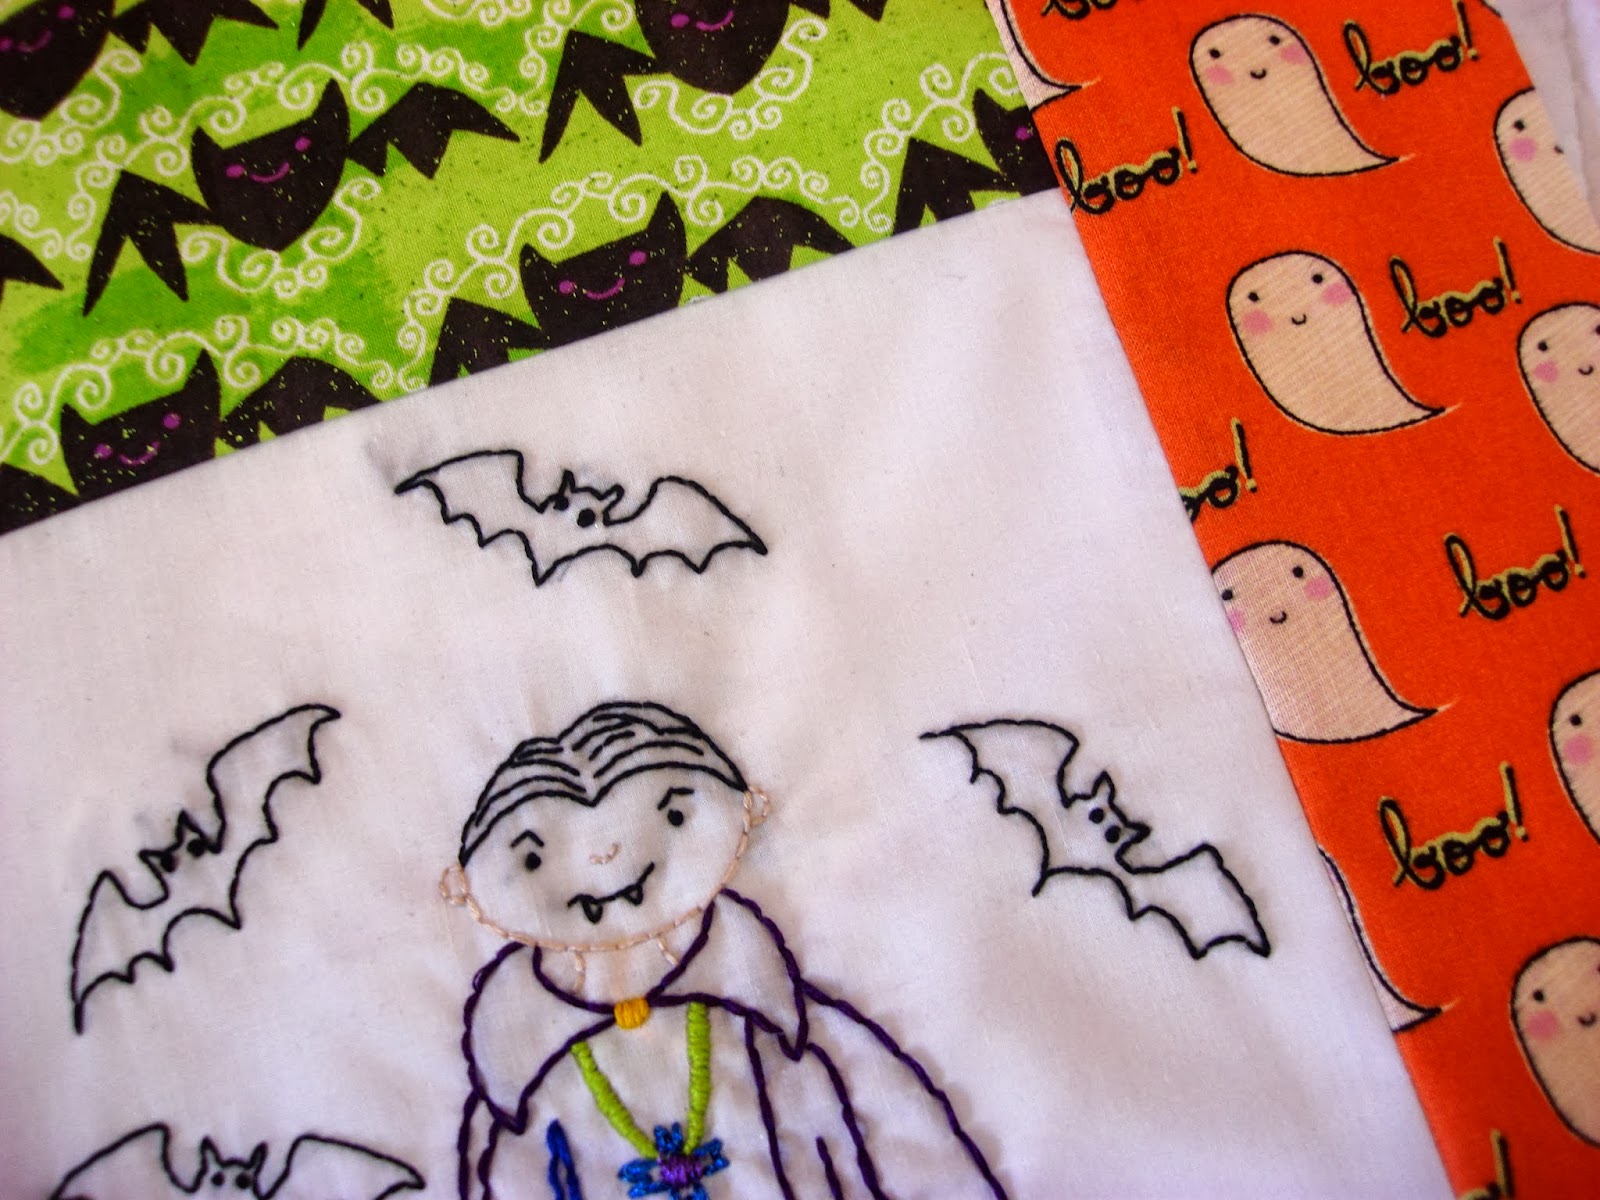
When it comes to all things thrilling about Halloween, I think that there is a range from gory to somewhat sweet. I stitched up this vampire, which I thought could be gripping, but then I framed him with some ghost and bat print fabric that toned down the sensation completely.


I wanted this vampire to go along with a witch pattern I stitched up last year. I am still deciding whether to turn them into a table runner and place each piece at either end, or into side-by-side wall hangings. 


As soon as I decide on how to complete these two pieces, I think they will THRILL anyone who stops by for a Halloween visit.

Thanks again to Lucy and Nat for inviting me to share my projects here. Can't wait to see what you all share as part of the THRILLER theme!

If you are interested in the embroidery patterns I used, they are available as a free download from here.


Thanks so much Kristen!
Come back and join us on October 15th to link up your makes based on the theme THRILLER and you have a chance to win a $25 gift certificate to the Fat Quarter Shop!